the water surface
and display case
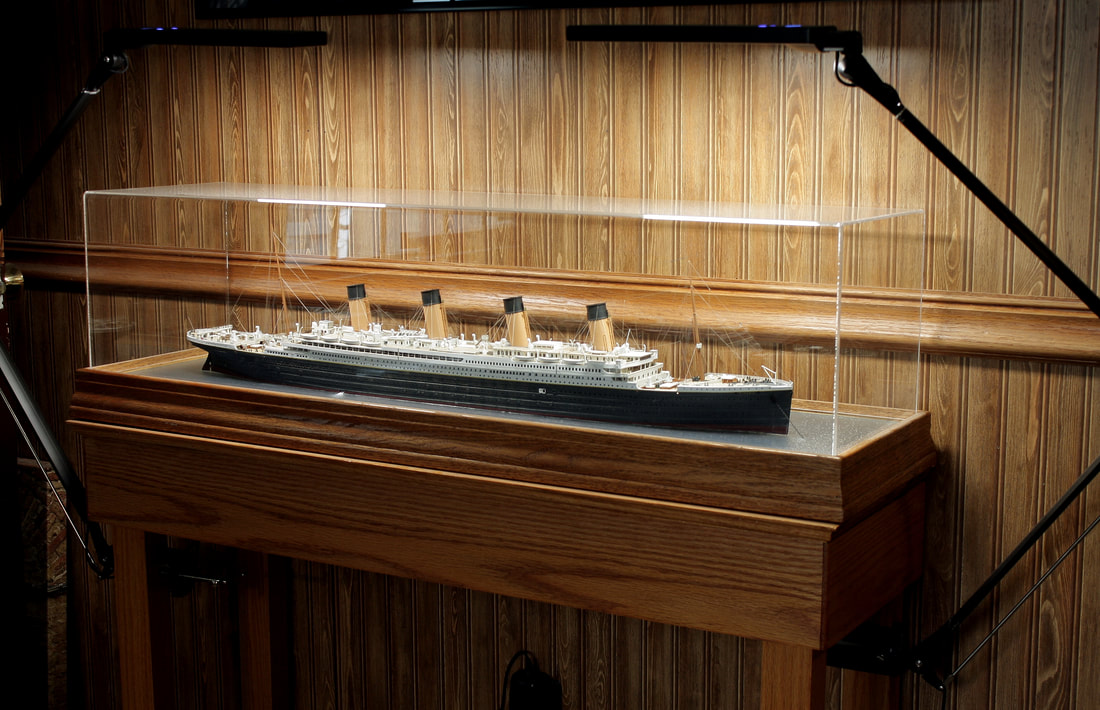
The finished model is displayed in a custom-made case with an Acrylite cover. It sits on a custom-made oak table of the same size, designed to match the paneling and an oak desk in the room. The base was made from oak-laminated particle board bordered by oak molding with a 3/4" raised edge on each side. This allows the removable cover to fit inside it, and in this position the ship can be viewed from all sides. The model is illuminated with two swing-arm LED lamps (Bylight model E476) that allow for variable light levels and six different color temperatures so that the colors of the model appear the same as in outside (natural) light. Originally only one lamp was used; a second one was added after the Finished Model photos were taken to give more even lighting to the bow and stern areas.
|
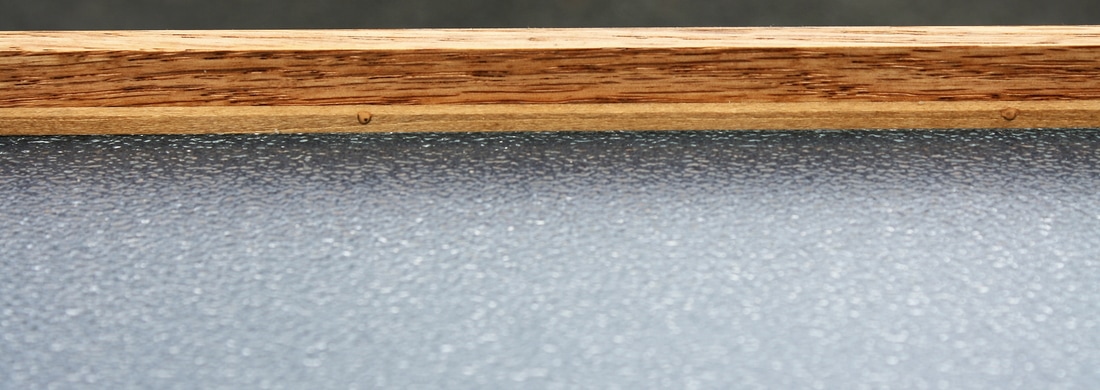
The water surface inside the model's display base was replicated simply and effectively with a piece of 3/16" obscure shower glass in a very fine pattern. Since the water of Cherbourg Harbor was calm when Titanic dropped anchor, no modeling of wave patterns was required, and the pattern on the glass was just right to replicate the irregular water surface in scale. To give the water color and depth, a piece of fine-weave cloth in a dull medium-blue shade was placed beneath the glass.
|
Below is a photo of the water surface in a sheltered harbor under nearly calm conditions. (It just happens to be Cherbourg.) Surface water color will vary somewhat depending on the depth, sunlight and many other factors, but it's readily evident that the surface pattern is very close to that of the glass in the photo above. I could have achieved the same effect with a commercially available material for modeling water, but all are too glossy. Water doesn't look that way from a distance because of scale effect. The natural sheen of the glass was just reflective enough to accurately replicate the appearance of the real thing.

|
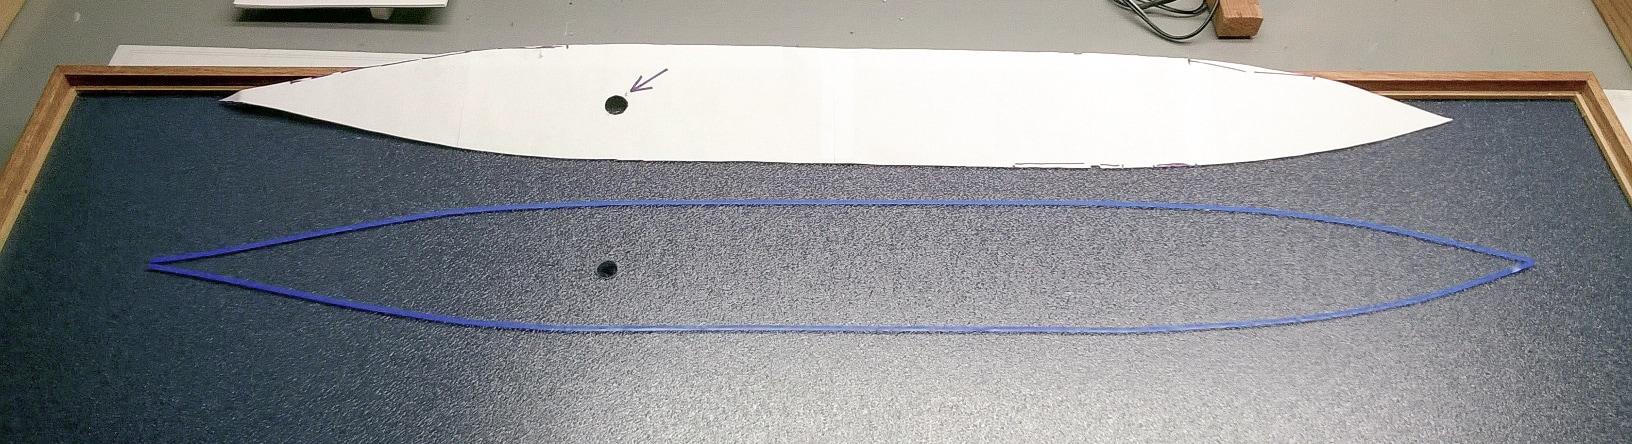
For the wires from the lighting systems to run through to the power sources under the table, the glass shop drilled a 5/8" hole off center. Prior to mounting the model on the water surface, black sheet styrene plastic of .020" thickness was cut to the exact outline of the cut hull and and cemented to the bottom edges. The black styrene bottom blocks light from radiating downwards into the glass and provided a means to firmly cement the model to the glass with epoxy. A hole matching the one in the glass let the wires run through, and as a precaution against light radiating outward into the glass from the edges of the hole, the edges and a wide area around it were painted with light-blocking material.
Below, the footprint of the hull is marked on the glass with pinstripe tape prior to applying the epoxy that would permanently join the model to the glass.
To finish the installation, the waterline was sealed to and blended in to the water surface with Woodland Scenics "Water Effects". It's clear but has a slightly duller sheen than the glass and so it doesn't reflect where it overlaps the bottom edge of the hull by a millimeter or two. "Water effects" does not flow well and is normally used for textured water such as streams and waterfalls on model railroad layouts, but by running a very small diameter bead and carefully drawing a wide, wet modeling paintbrush along the waterline in a continuous motion just one time, it made a smooth, narrow seal.
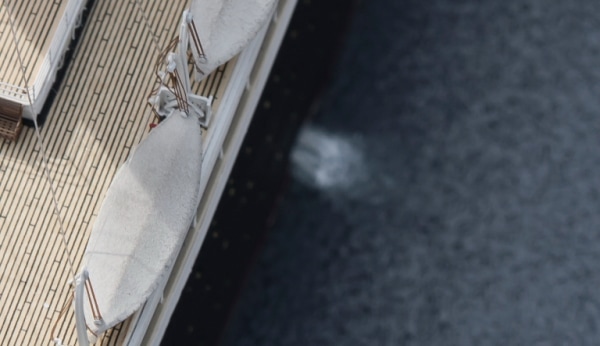
By stippling a very light amount around the stern, rudder and anchor chain, I was able to simulate the less reflective areas of 'splash back" water that are typical around these sections of the ship. To model the condenser discharges I used .50mm fiber optic pieces thickly coated with "Water Effects". A second and lighter coating, tinted by mixing in white acrylic paint and stippled for out an inch or so, completed the illusion of two powerful streams of water continuously discharging from the hull on either side.
By stippling a very light amount around the stern, rudder and anchor chain, I was able to simulate the less reflective areas of 'splash back" water that are typical around these sections of the ship. To model the condenser discharges I used .50mm fiber optic pieces thickly coated with "Water Effects". A second and lighter coating, tinted by mixing in white acrylic paint and stippled for out an inch or so, completed the illusion of two powerful streams of water continuously discharging from the hull on either side.
|
|
See
During the final photography of the model, whenever it was necessary to have water in view further out than the edge of the base, an extra piece of glass was simply laid over the edge. The glare of the sun eliminated the need to have any blue (cloth) coloring beneath the glass for those photos. See "Photographing the Model" for more info. |